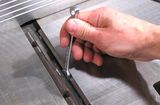
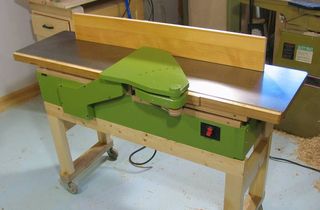
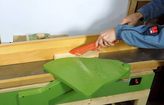
Wooden jointer accuracy and seasonal changes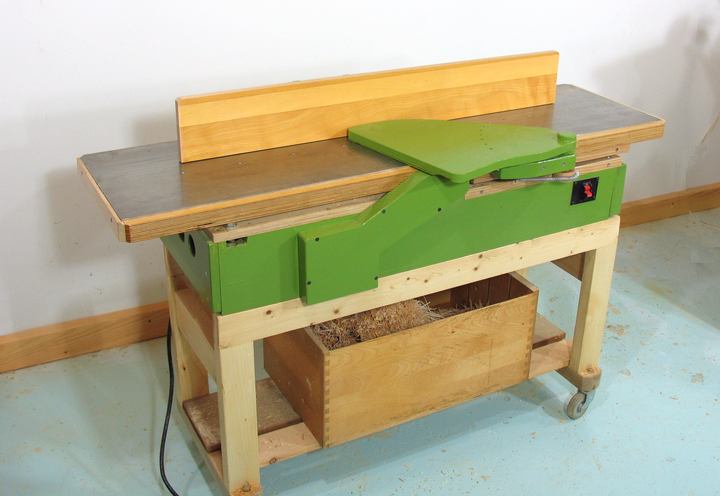 I'm always interested to see how my homemade wooden machines do with a change of season. My workshop, being in a basement, is relatively humid in the summer. But in the winter, indoor humidity really drops. This causes a bit of seasonal wood movement. I always have that in mind when I design my machines, but ultimately, I have to wait for a change of season to really know how a machine copes with it.Having built this jointer in July, and now it's January, I figured this would be a good time to check it over. I'm always interested to see how my homemade wooden machines do with a change of season. My workshop, being in a basement, is relatively humid in the summer. But in the winter, indoor humidity really drops. This causes a bit of seasonal wood movement. I always have that in mind when I design my machines, but ultimately, I have to wait for a change of season to really know how a machine copes with it.Having built this jointer in July, and now it's January, I figured this would be a good time to check it over.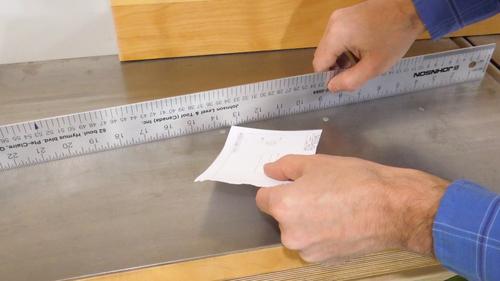 First I check if the infeed and outfeed tables are still flat. The tables were never perfectly flat, but they were flat enough. First I check if the infeed and outfeed tables are still flat. The tables were never perfectly flat, but they were flat enough.Placing a ruler on the outfeed table, I can tell that it's resting on either end, but not the middle. But I can't slip a sheet of paper between the ruler and the table. The paper is about 0.1 mm (.004") thick 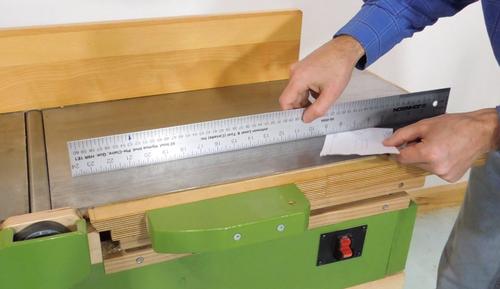 I did find a spot on the near side of the infeed table where the paper easily slips in. But I'm pretty sure it was like that when I built it. I did find a spot on the near side of the infeed table where the paper easily slips in. But I'm pretty sure it was like that when I built it.Actually, the steel doesn't sit entirely flat on the table on that spot (it bowed up a bit near the end), so it's not the plywood that warped. So I guess the measures I took to keep the plywood from warping with humidity changes worked well enough. 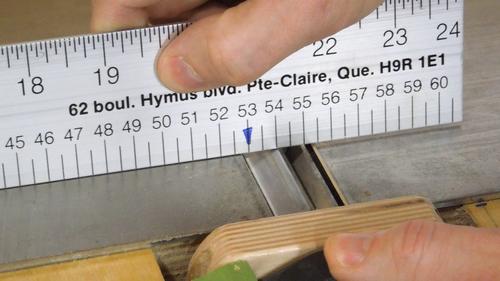 Next checking knife protrusion. When I built the jointer, I set it so that when I put a ruler on the outfeed table, and rotate the cutter head, it picks up the ruler and moves it by 5 mm. This was ok on the near and middle side of the cutter head. On the far side, it moved it only by about 3 mm. Next checking knife protrusion. When I built the jointer, I set it so that when I put a ruler on the outfeed table, and rotate the cutter head, it picks up the ruler and moves it by 5 mm. This was ok on the near and middle side of the cutter head. On the far side, it moved it only by about 3 mm.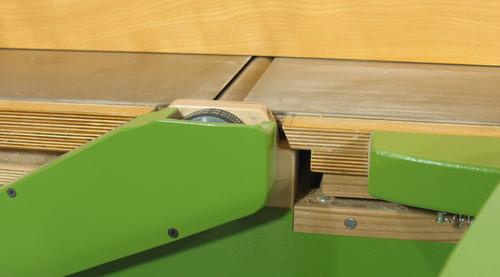 I'm actually pretty happy that I didn't need to make adjustments. When I read about Galen Winchip's homemade 6" jointer in an old Fine Woodworking magazine, it was mentioned that he had to make seasonal adjustments to the outfeed table on his machine. I'm actually pretty happy that I didn't need to make adjustments. When I read about Galen Winchip's homemade 6" jointer in an old Fine Woodworking magazine, it was mentioned that he had to make seasonal adjustments to the outfeed table on his machine.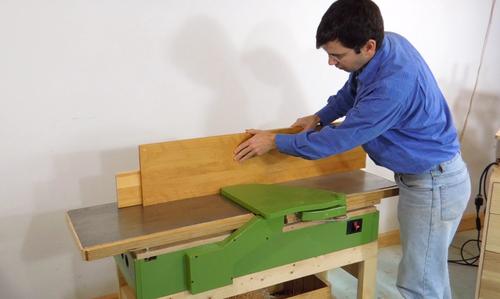 But what really matters with a jointer is - does it cut straight? But what really matters with a jointer is - does it cut straight?So I took two of the straightest boards I could find around my shop, both about 1.05 m long, and planed one edge of each. 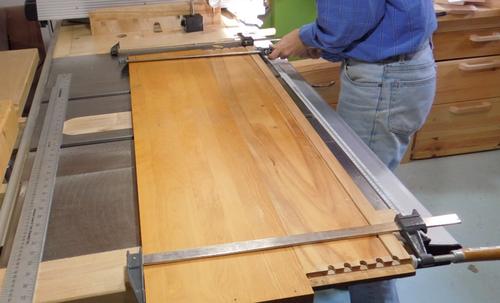 Checking with a ruler, the board was straight as far as I could tell, but a ruler isn't the best method. Checking with a ruler, the board was straight as far as I could tell, but a ruler isn't the best method.I took the two boards, and put them side by side. I found they were touching on either end, but had a gap in the middle. So I lightly clamped them together on the ends... 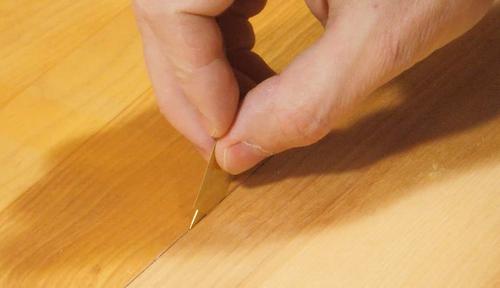 ...and then used some 0.005" (0.12 mm) thick shims to check the gap. I could get one shim in easily, but it was a tight fit to squeeze a second one in. So the gap was probably around 0.24 mm, with each board hollow by about 0.12 mm (0.005") ...and then used some 0.005" (0.12 mm) thick shims to check the gap. I could get one shim in easily, but it was a tight fit to squeeze a second one in. So the gap was probably around 0.24 mm, with each board hollow by about 0.12 mm (0.005")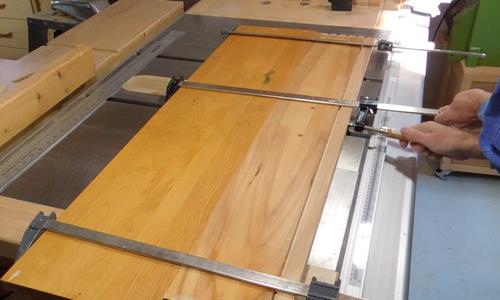 In terms of woodworking, this non-straightness is pretty insignificant. If I were to glue these boards together, I'd be using at least five clamps along the length and that gap would be squeezed shut. Just one clamp, and without much tightening was enough to bend the wood to close that gap. In terms of woodworking, this non-straightness is pretty insignificant. If I were to glue these boards together, I'd be using at least five clamps along the length and that gap would be squeezed shut. Just one clamp, and without much tightening was enough to bend the wood to close that gap.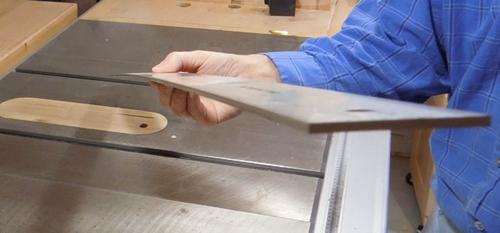 Accuracy at a distance is always a challenge. That's why machine shops have granite tables for taking measurements on, and tables for optical experiments tend to be made out of so much steel. Accuracy at a distance is always a challenge. That's why machine shops have granite tables for taking measurements on, and tables for optical experiments tend to be made out of so much steel.Holding this ruler with the flat edge down, you can see how much it sags just from gravity. 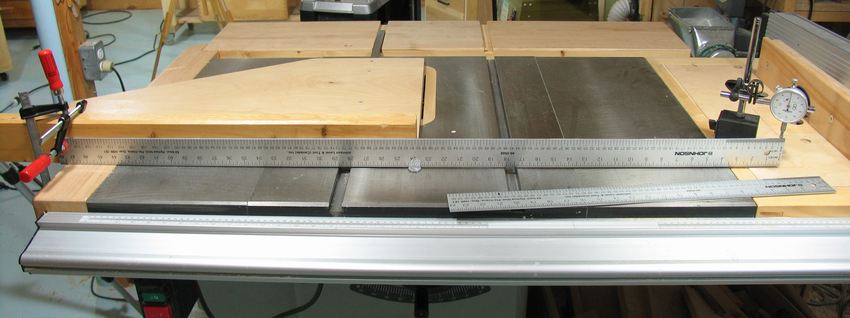 Even with the ruler on edge, sag from gravity is a factor. I set up an experiment to get an idea just how much. The ruler is clamped to the table saw on the left side, supported by a coin in the middle, and cantilevered out on the right side. The dial indicator is set up to measure vertical deflection of the unsupported end. 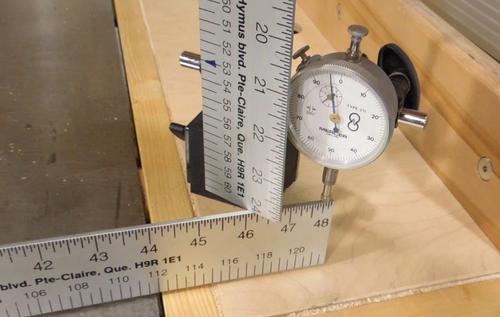 Of course, I can't just turn gravity on and off to see how much of an effect it has. So instead, I'm adding the weight of another, shorter ruler on the end of the long ruler. That other ruler I'm using is only half as long, and about two thirds as thick as the 4-foot (1.2 meter) ruler that I'm testing. So it should weigh about one third as much. When the weight of the shorter ruler is added to the end, the long ruler deflects downward by about .0035" (about .09 mm) Of course, I can't just turn gravity on and off to see how much of an effect it has. So instead, I'm adding the weight of another, shorter ruler on the end of the long ruler. That other ruler I'm using is only half as long, and about two thirds as thick as the 4-foot (1.2 meter) ruler that I'm testing. So it should weigh about one third as much. When the weight of the shorter ruler is added to the end, the long ruler deflects downward by about .0035" (about .09 mm)So gravity deflections on my 4' ruler are already on the same order of magnitude as the error from my jointer. So when using a ruler to check something like jointer flatness, it's very important to not press down on the ruler. Even the weight of the ruler alone will cause significant deflection. 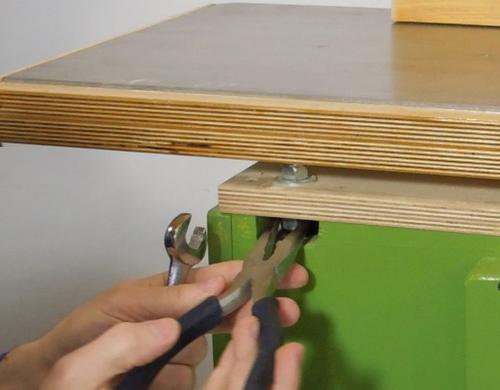 I decided to make some adjustments to my jointer. I ended up turning the nuts on the end of the outfeed table by about 60 degrees each, which should have dropped the outfeed table by about 0.010" or 0.25 mm. Testing afterwards showed that it made a hollow cut about half as deep as before. I decided to make some adjustments to my jointer. I ended up turning the nuts on the end of the outfeed table by about 60 degrees each, which should have dropped the outfeed table by about 0.010" or 0.25 mm. Testing afterwards showed that it made a hollow cut about half as deep as before.I found that the lower nuts (one of which I'm adjusting in the photos) were no longer tight against the plywood. No surprise there - the plywood probably shrunk by 1% in thickness from humidity changes. All things considered, this machine is doing much better than I would think a wooden jointer should do! 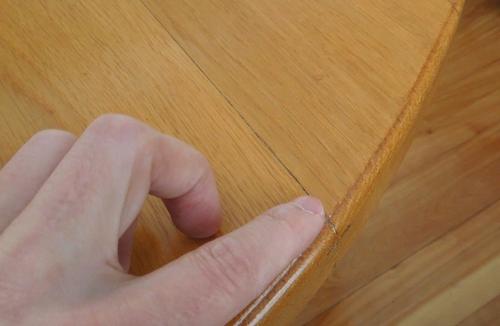 I figure it's better to under-correct than to over-correct. Better to have boards with a hollow cut than a convex cut. When my dad built this coffee table back in the 1970s, his jointer cut a bit convex. He figured he could force the gaps shut by clamping, but the cumulative error of several planks side by side was too much, and some cracks opened up at the ends. If the jointer had cut hollow, that crack would have had to open up in the middle. I figure it would be much harder for a crack to start in the middle, so it's better to err on the side of cutting hollow. I figure it's better to under-correct than to over-correct. Better to have boards with a hollow cut than a convex cut. When my dad built this coffee table back in the 1970s, his jointer cut a bit convex. He figured he could force the gaps shut by clamping, but the cumulative error of several planks side by side was too much, and some cracks opened up at the ends. If the jointer had cut hollow, that crack would have had to open up in the middle. I figure it would be much harder for a crack to start in the middle, so it's better to err on the side of cutting hollow.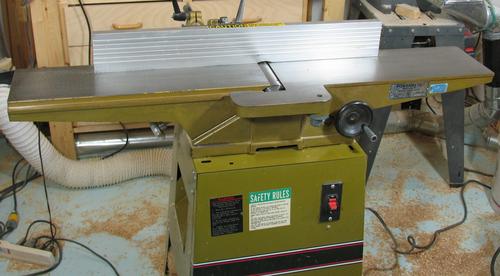 I imagine you are thinking right now "But I'll just get myself a good quality jonter, like a Powermatic, and I won't have to worry about fiddling with those things. I imagine you are thinking right now "But I'll just get myself a good quality jonter, like a Powermatic, and I won't have to worry about fiddling with those things.My response to that: "Not necessarily so!". This is my Powermatic 6" jointer, which I bought new in 1996. On the first project I used it, I discovered that it cut considerably convex, much further off than my wooden jointer. But the infeed and outfeed tables are both one piece, so there really wasn't anything I could tweak - except for the dovetails themselves! So I took the outfeed table off, and started slowly working away at it with a hand file, periodically putting the table back on and checking with a 4-foot ruler (That's what I originally bought my long ruler for). I think I brought the end of the outfeed table down by about half a millimeter. I just repeated the above test with this jointer. The boards are a tiny bit convex, but by no more than the other jointer cuts concave by after I tweaked it. 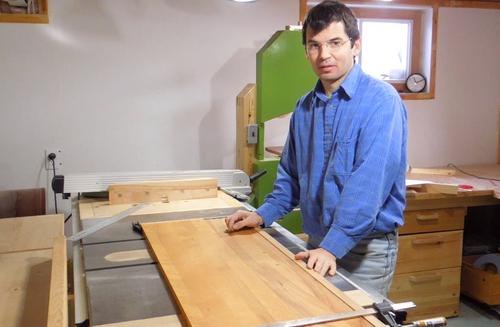 While it's fun to tweak machinery, at some point, you have to say "close enough". I really hadn't worried about how straight my jointers cut for some time, but wanting to see how the homemade jointer did with humidity changes was a good excuse to obsess over these things again. While it's fun to tweak machinery, at some point, you have to say "close enough". I really hadn't worried about how straight my jointers cut for some time, but wanting to see how the homemade jointer did with humidity changes was a good excuse to obsess over these things again.See also:
|
Monday, 8 December 2014
Wooden jointer accuracy and seasonal changes
Subscribe to:
Post Comments (Atom)
No comments:
Post a Comment