Stephen Surber's homemade jointer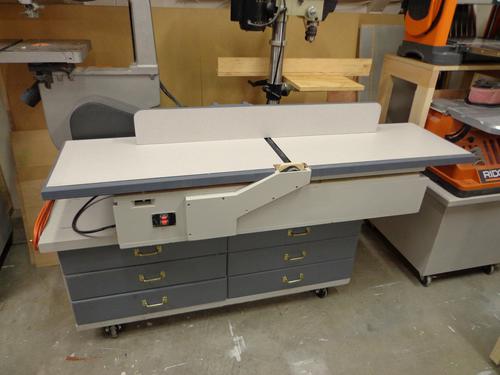 Steve Surber writes: Steve Surber writes:Matthias,I make cabinets and built-in entertainment systems in Aurora Colorado. I recently purchased your plan for a 12 inch jointer and I have finished the project. I have to thank you and say it was the best $16 I ever spent. I have attached a picture. I followed the plan except for some material changes, I made the bed longer (60 inches total), and I installed a 4" dust collection port under the fence adjustment. I had a delta planer that I was going to sell but decided on turning it into a jointer when I saw your web site. I used particle board for the in-feed and out-feed tables (from my old entertainment center) and I laminated some Formica on them. I had the Formica left over from a commercial cabinet job I did last year. If it wears out I will replace with steel. I also trimmed out the ugly particle board edges. I spent about an hour adjusting the in-feed and out-feed tables. I jointed my first board, a 32 inch piece of 2x4 with a slight bow. In three passes it was dead flat! I put it on my granite table saw top and could not get a piece of paper under it over the entire length! Total construction time was 20 hours. Total cost was $50.00, mostly hardware and a longer drive belt. I used stuff that was laying around the shop. I even used paint left over from another job. 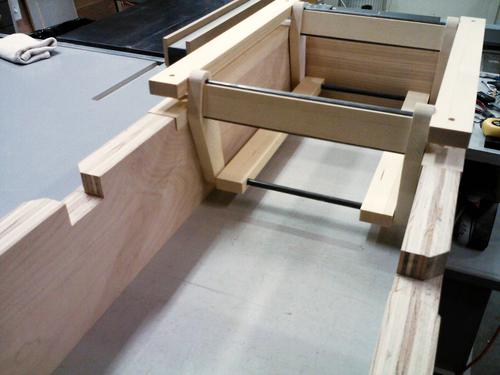 I made the sides from two pieces of birch plywood laminated together with a solid bottom, also of plywood. I made the sides from two pieces of birch plywood laminated together with a solid bottom, also of plywood.The table has formica on the top only. Humidity in Colorado is pretty much nonexistent. Maybe 10% in the summer, so I'm not worried about seasonal changes. I'll keep tabs on it, but I don't think it will be a problem. 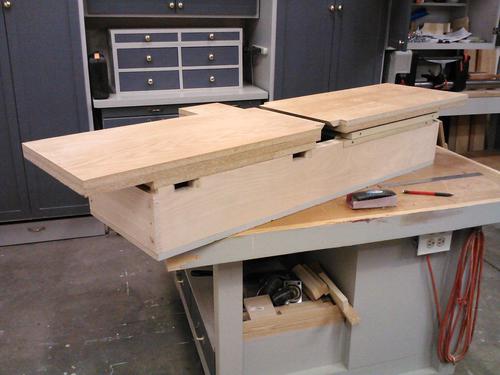 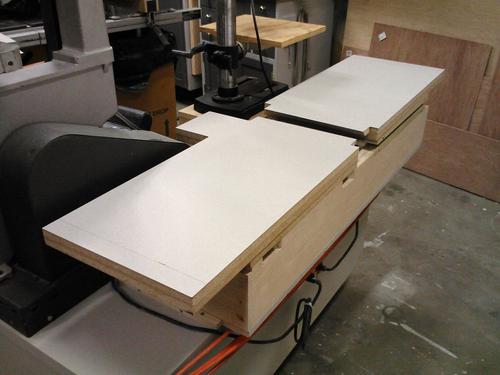 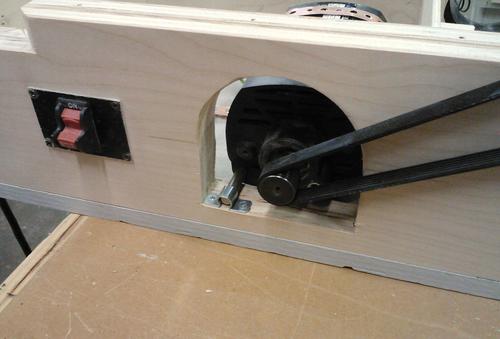 I mounted the motor a little different. I cut a 5" hole and then squared off the bottom so I could use a door bolt latch to secure the front of the mounting shaft. It holds the shaft very tight. I mounted the motor a little different. I cut a 5" hole and then squared off the bottom so I could use a door bolt latch to secure the front of the mounting shaft. It holds the shaft very tight.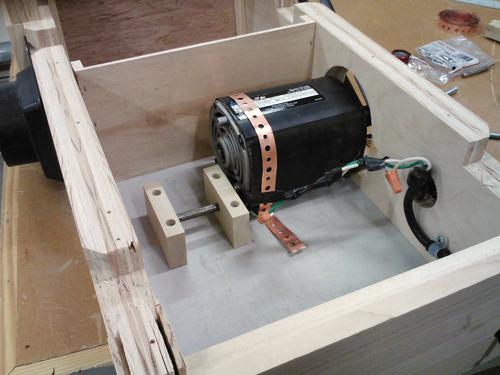 The back of the mounting shaft is held by two wood blocks. The first has a through hole for the shaft and is mounted against the back of the motor to secure it from moving back and forth on the shaft. The second has a stopped hole to prevent the shaft from moving to the rear. To tighten the drive belt I made a wood wedge and put it under the infeed side of the motor until the belt was tight and secured it to the bottom with two screws. When I started the motor the first time, it torqued over rather badly (from the sudden start). I secured it tight with a piece of metal plumber's strap and two screws. Problem solved. The back of the mounting shaft is held by two wood blocks. The first has a through hole for the shaft and is mounted against the back of the motor to secure it from moving back and forth on the shaft. The second has a stopped hole to prevent the shaft from moving to the rear. To tighten the drive belt I made a wood wedge and put it under the infeed side of the motor until the belt was tight and secured it to the bottom with two screws. When I started the motor the first time, it torqued over rather badly (from the sudden start). I secured it tight with a piece of metal plumber's strap and two screws. Problem solved.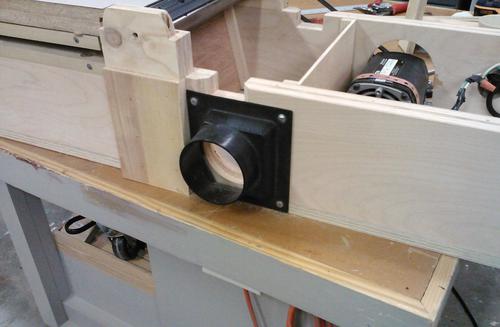 Your idea of chips exiting out the bottom on your jointer is great, but it wouldn't work for me. My machine is located on a cart so I installed a 4" dust port on the back. Your idea of chips exiting out the bottom on your jointer is great, but it wouldn't work for me. My machine is located on a cart so I installed a 4" dust port on the back.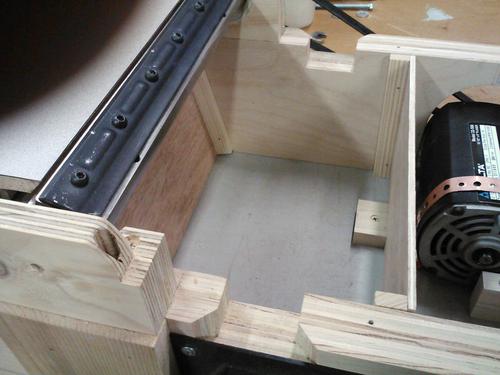 I had to make the chip compartment bigger to accommodate the dust port. Bottom line is that it works great. I had to make the chip compartment bigger to accommodate the dust port. Bottom line is that it works great.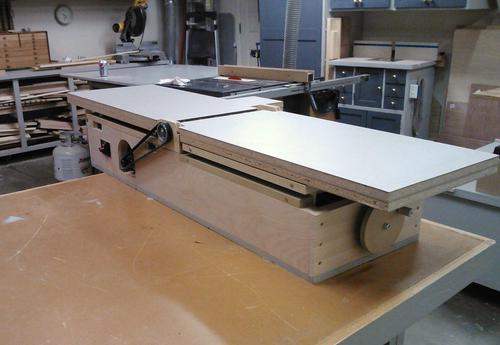 I have used the machine almost every day for the past six week or so with no issues. The laminate top is holding up well, if it falls apart, I'll buy some steel plates. Accuracy is as good as it gets. If you think about it, flat is flat! I made the machine totally from scrap material I had on hand and have about $50.00 in it. I sold the old Delta 6" jointer planer for $100.00. I'm way ahead on this deal. I have used the machine almost every day for the past six week or so with no issues. The laminate top is holding up well, if it falls apart, I'll buy some steel plates. Accuracy is as good as it gets. If you think about it, flat is flat! I made the machine totally from scrap material I had on hand and have about $50.00 in it. I sold the old Delta 6" jointer planer for $100.00. I'm way ahead on this deal.Thanks again for the great plans and engineering. Easy to use and on the money. Steve Surber PS: Look for me on page 124 of the America's Best Home Work Shops 2013 (Wood Magazine). My fifteen seconds of fame. 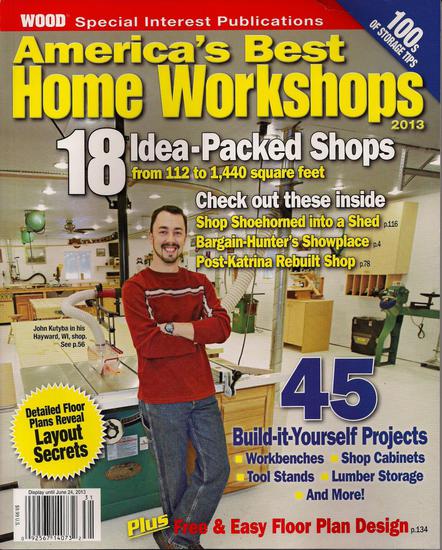 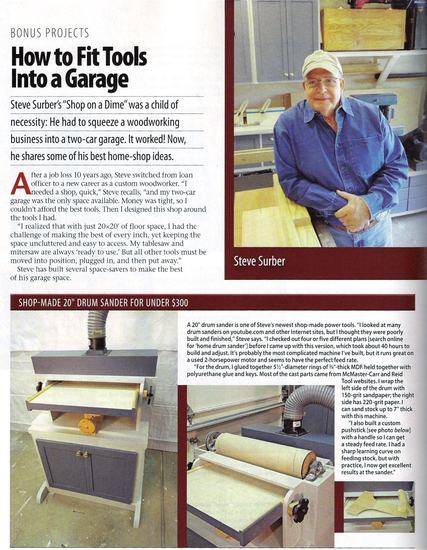 Matthias adds: Interestingly enough, the guy on the cover of that same issue is John Kutyba, whose pantorouter and workshop I had published in June 2012 (9 months before Wood magazine) See also: More homemade machines on my woodworking website |
Monday, 8 December 2014
Stephen Surber's homemade jointer
Subscribe to:
Post Comments (Atom)
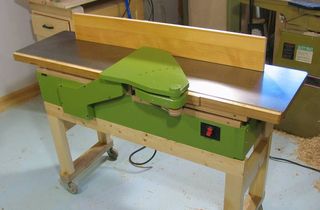 Homemade jointer project

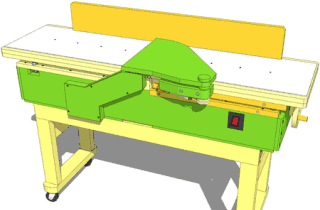 Plans for the jointer
 More about jointers
No comments:
Post a Comment