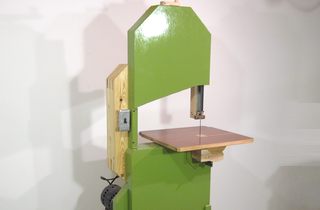
Alois 's bandsaw constructionThis article also available in German.Alois writes:Hello Matthias , Thank you for your work providing such wonderful plans for the band saw Here are some pictures from the build of my band saws. When I started my build, two friends asked if they could get one too. After asking you, the answer was: No problem. I would like to thank you for that too. 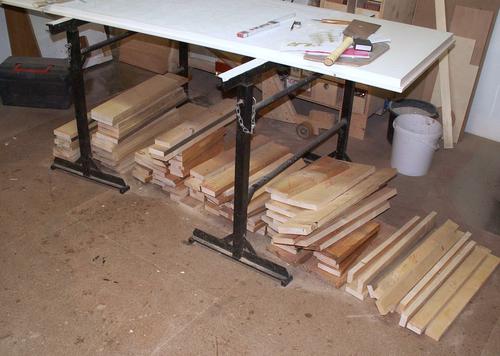 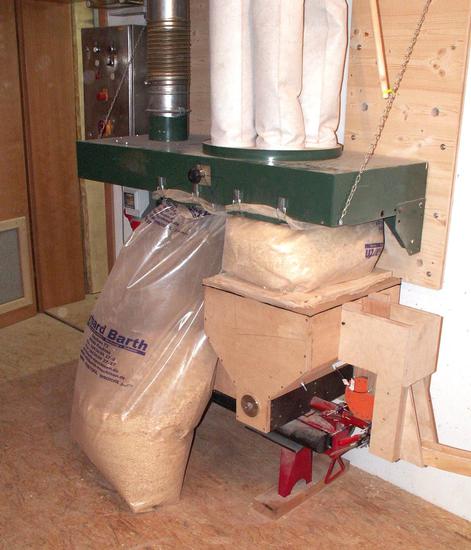 Here are the rough cut-boards, cut according to your cut list. Here are the rough cut-boards, cut according to your cut list.With so many chips from jointing and planing I had to attach an additional chip bag to my dust collector. So much at once is too much for my briquette press. 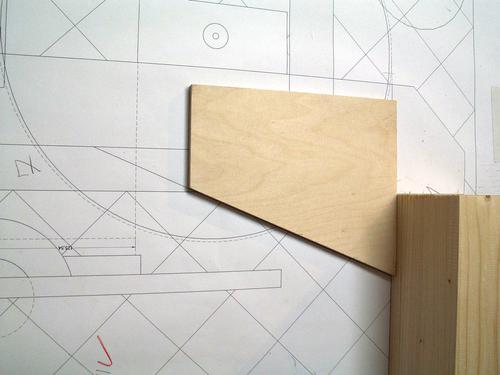 To cut the wedges I made a guide. Just piece of plywood cut at an angle. To cut the wedges I made a guide. Just piece of plywood cut at an angle.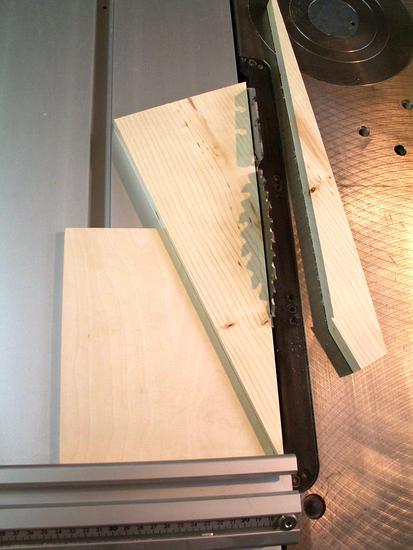 With it, I could cut the wedges without adjusting the angle of the fence. With it, I could cut the wedges without adjusting the angle of the fence.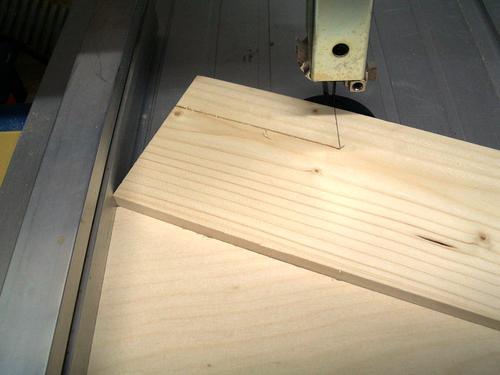 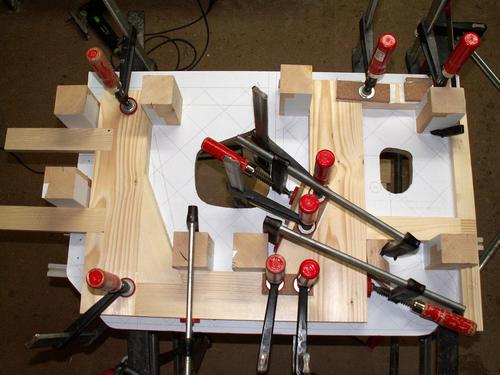 To glue the parts, I printed a plan at 1:1 scale and glued it to plywood. This made assembling all the pieces easy. To glue the parts, I printed a plan at 1:1 scale and glued it to plywood. This made assembling all the pieces easy.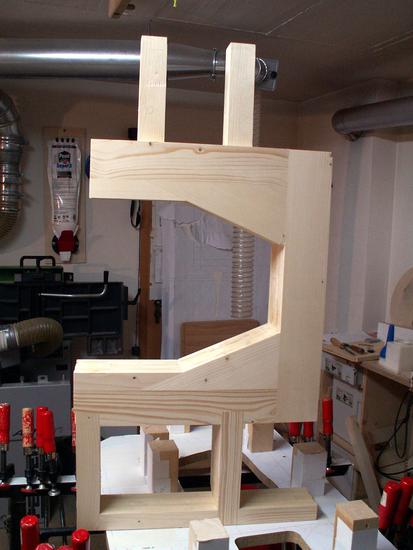 After gluing, flatness was adequate, but I flattened it some more in my thickness sander (drum sander). After gluing, flatness was adequate, but I flattened it some more in my thickness sander (drum sander).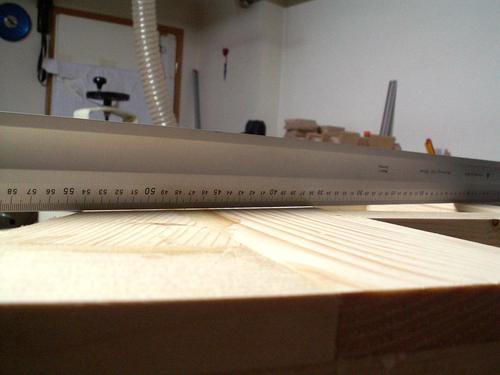 After sanding, I trued the frame on the planer and table saw as much as possible. 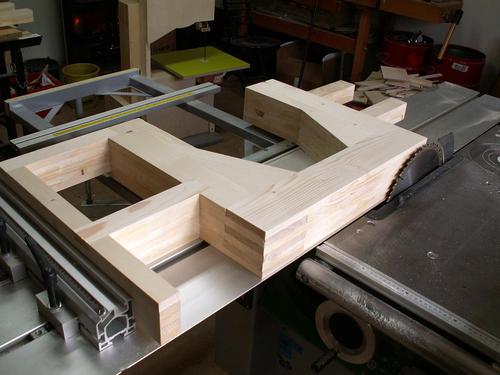 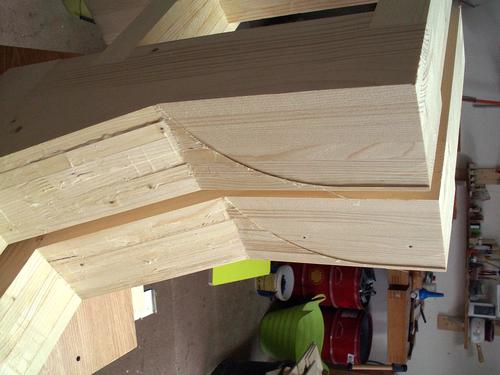 Since I don't have a decent hand plane, I made a sanding block and used that to ensure that all front faces were at the right angle. 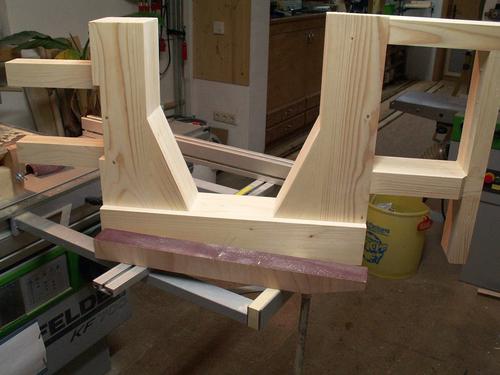 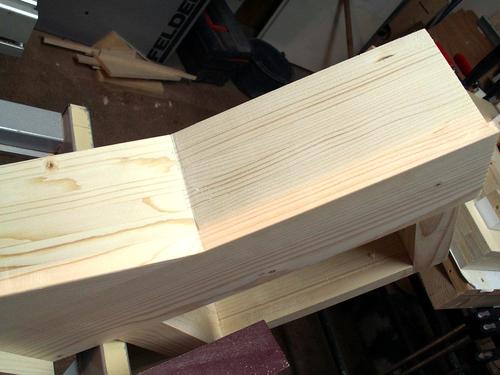 The round part of the clamping plates were shaped on the disk sander, rotating around on the peg. I made a holder out of wood for cutting the other side on the table saw. 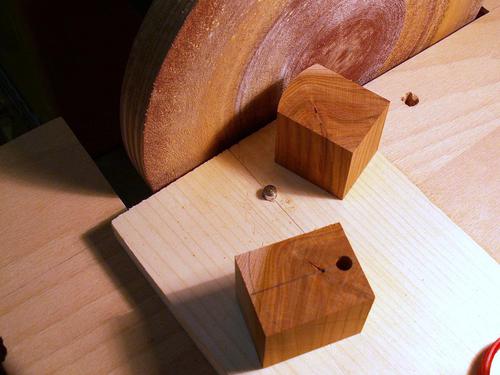 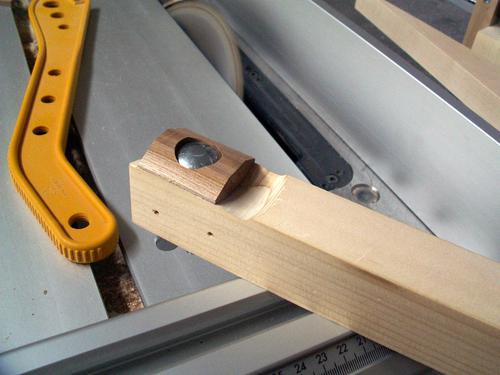 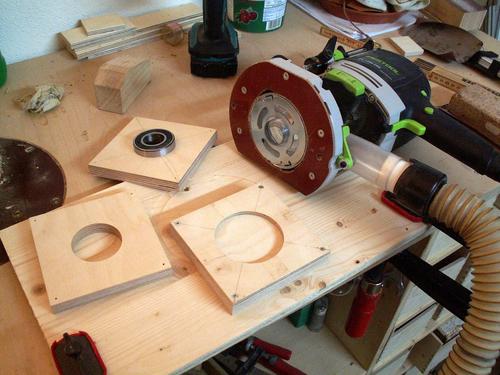 The holes for the ball bearings were cut with the router and a template. The fit for the bearings was super, but it wasn't close enough to the center for me. The holes for the ball bearings were cut with the router and a template. The fit for the bearings was super, but it wasn't close enough to the center for me.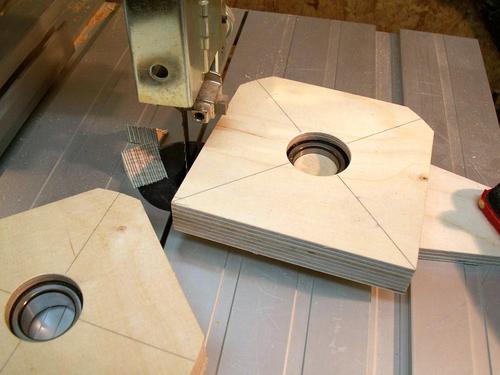 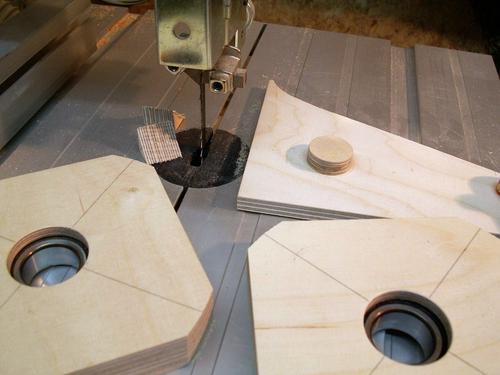 That is why I used the bearing itself as a reference when cutting the faces and rounding the corners. 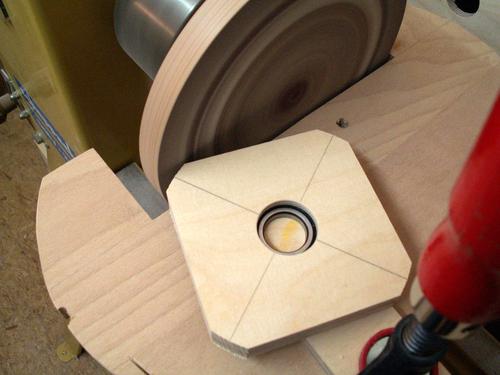 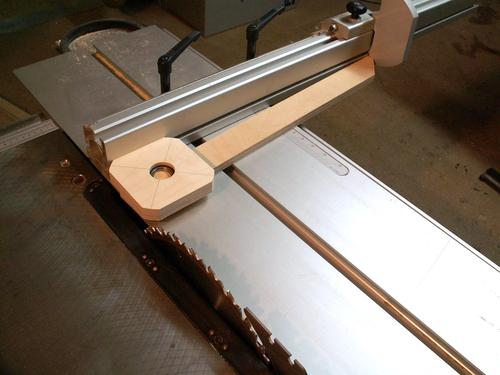 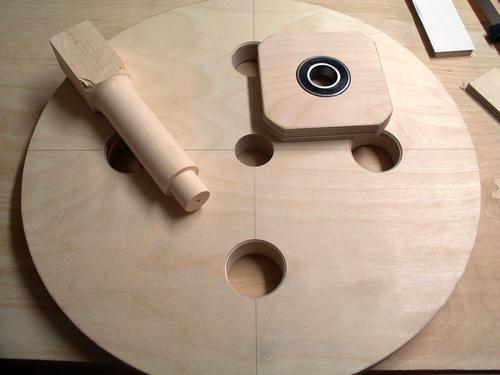 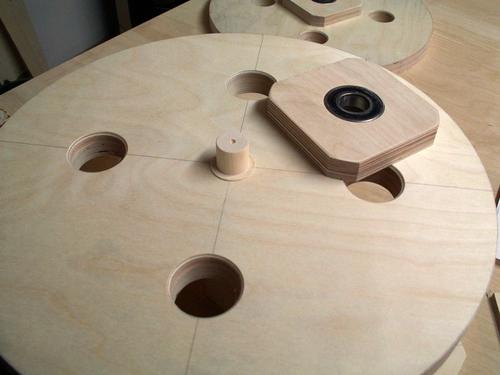 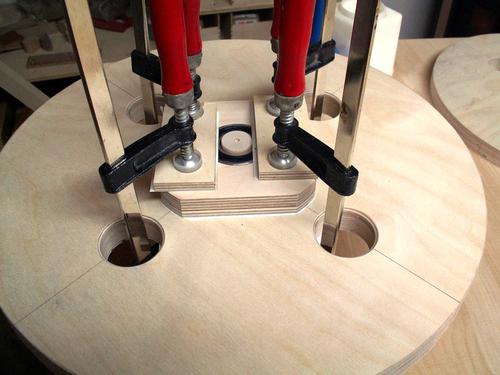 I turned a centering pin on the lathe to center the first bearing. I turned a centering pin on the lathe to center the first bearing. The second bearing is aligned with the dial indicator. The second bearing is aligned with the dial indicator.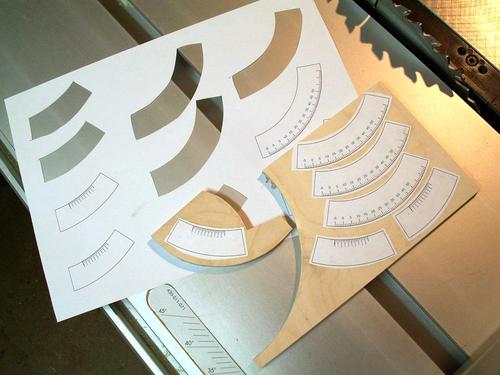 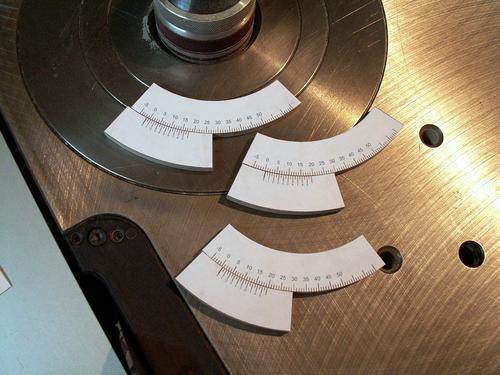 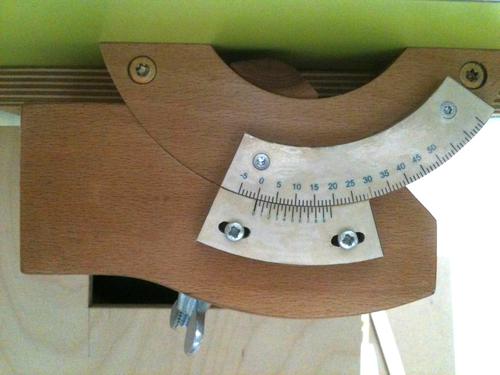 I really liked the angle indicator on Mikiono's bandsaw. I really liked the angle indicator on Mikiono's bandsaw.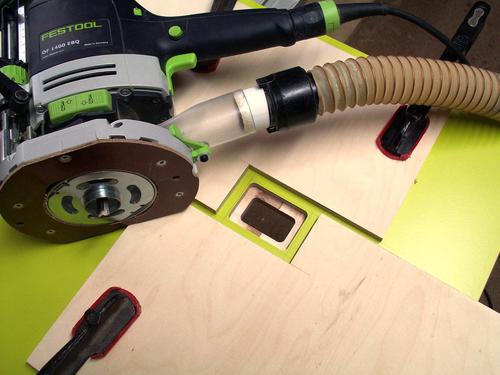 The recess for the table insert is cut with two pieces of plywood as a guide. The recess for the table insert is cut with two pieces of plywood as a guide.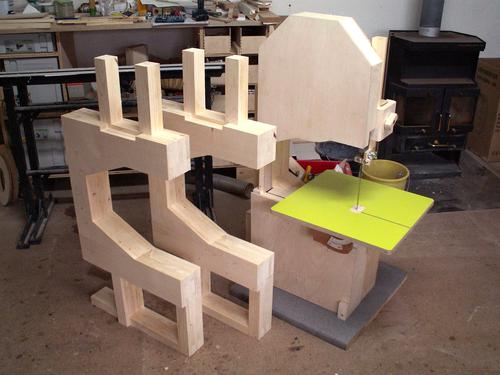 Progress so far. Progress so far.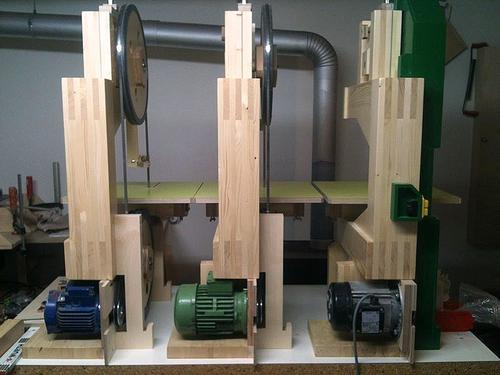 I bought the motors from a friend, at a good price. This required each motor to be fitted individually. I bought the motors from a friend, at a good price. This required each motor to be fitted individually.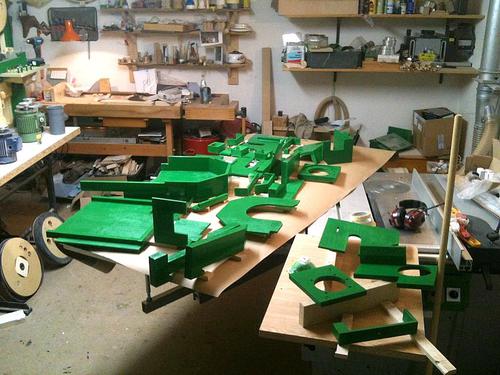 "Going green." I almost ran out of room in my workshop. It was too cold to paint outside. "Going green." I almost ran out of room in my workshop. It was too cold to paint outside. 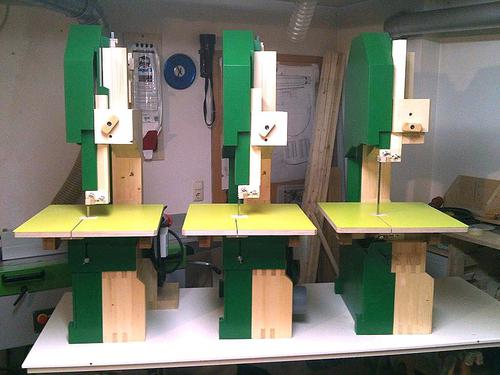 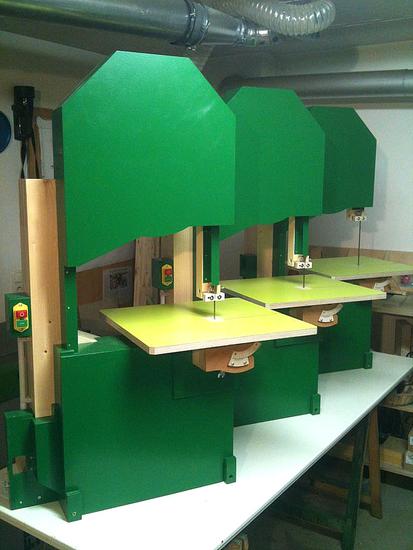 All three band saws are done and run just great. All three band saws are done and run just great.I still need to order more blades and do more testing. More from Alois:  Alois's basement Alois's basementworkshop 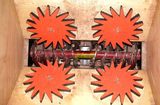 Alois's wood briquette press Alois's wood briquette press 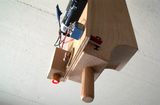 Alois's table saw laser Alois's table saw laserSee also: 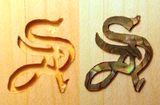 Alois's guitar inlays Alois's guitar inlaysMore reader projects on woodgears.ca |
Saturday, 6 December 2014
Alois 's bandsaw construction
 Homemade bandsaw
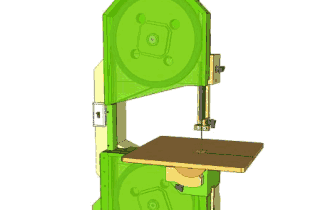 Bandsaw plans
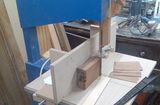 More reader built
Subscribe to:
Post Comments (Atom)
No comments:
Post a Comment